Stop Fighting the Clay:
The 3 Core Techniques for Centering Any Amount (An Expert's Guide)
Centering clay on the pottery wheel is the single most important, and often the most frustrating, skill for a potter to master. It's the point where you either enter a harmonious relationship with the clay or engage in a battle you will lose. The clay is an unforgiving partner: any wobble, bump, or inconsistency you leave in the center will be amplified as you pull the walls.
At our core, we teach mastery over brute force. Centering is not about how strong you are; it's about leverage, body stability, and controlled pressure. This expert guide distills the complex process into Three Core Techniques—the non-negotiable foundations for centering any lump of clay, from half a pound for a teacup to 10 pounds for a large Nepali storage pot.
I. Technique 1: The Immovable Object (Anchoring)
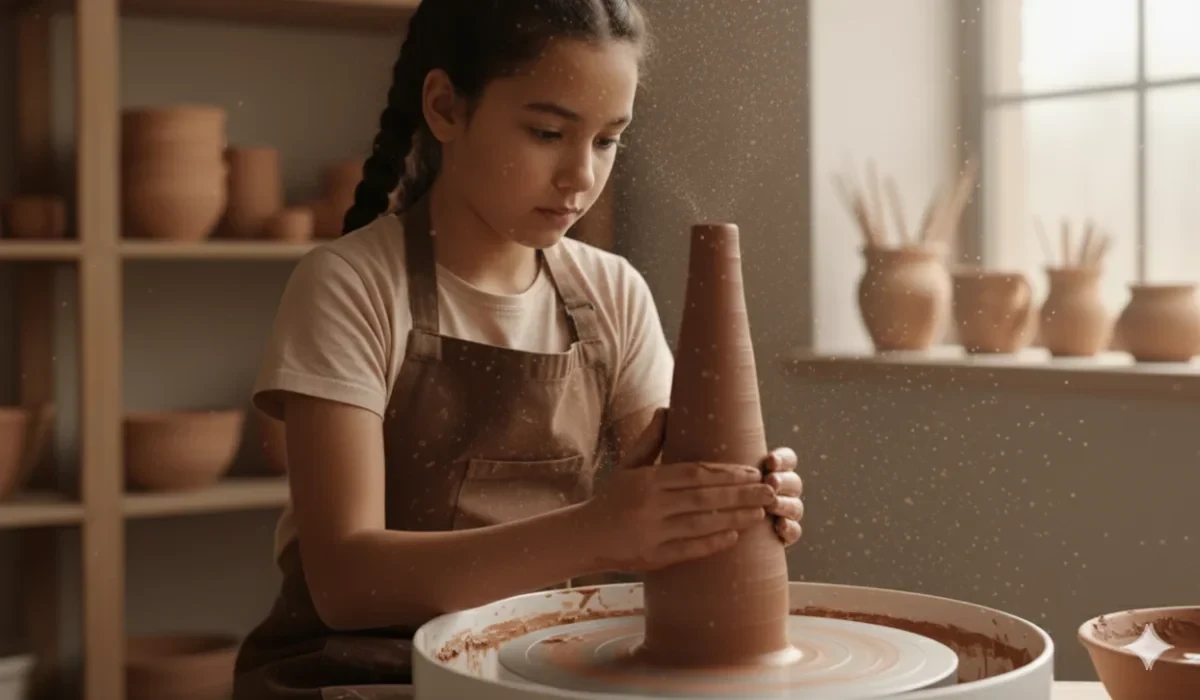
The most common beginner mistake is using arm or wrist strength, allowing the fast-spinning clay to push your hands around. To center successfully, you must be the anchor that does not move. The clay must conform to your static position.
The Power Posture:
Sit Close: Pull your stool close enough so the splash pan lightly touches your thighs. This provides a natural brace.
Elbow-to-Hip Lock: Tuck your left elbow firmly into your left hip or thigh. This turns your arm from a flexible noodle into a rigid extension of your core body strength.
Hand Connection: Interlock your thumbs or press the heels of your hands together. This unifies your two hands into a single, strong unit.
- Key Takeaway: Your centering pressure should come from a slow, steady lean of your entire torso, not a squeeze of your arms. Brace your core, exhale, and lean in.
II. Technique 2: The Vertical Alignment (Coning Up and Down)
Coning the clay up and down is often misunderstood as just a way to check the center. It is actually a fundamental continuation of the wedging process, a form of "wheel wedging," that achieves two crucial goals:
Particle Alignment: It forces the clay's tiny plate-like particles (platelets) into a uniform, vertical spiral, eliminating air pockets and internal tension.
Locating True Center: It helps you find the single, stable point on the wheel head.
Step Guide: The Coning Cycle
Cone Up: With the wheel spinning at medium-high speed, apply firm, unified pressure to the bottom third of the clay. Your hands—unified by your Technique 1 posture—will guide the clay upwards into a smooth, tall cone. Maintain a high point in the center.
Cone Down: Without changing your bracing, use the flat, side-heel of your dominant hand (the "karate chop" or palm heel) to apply pressure straight down onto the top of the cone. Allow the clay to press outward and downward into a short, wide, smooth puck.
- The Test: Repeat this 2-3 times. The height of the cone and the width of the puck should decrease slightly with each cycle. When a bead of water on the very top of the clay sits perfectly still, it is truly centered.
III. Technique 3: The Even Compression (Working the Full Mass)
Whether you are centering a small ball or a 10-pound lump, the principle remains the same: you must apply even pressure across the entire circumference and height of the mass. This is the difference between a master’s touch and a beginner’s frantic push.
The Side-and-Top Strategy:
Centering relies on pressure from two perpendicular directions simultaneously to prevent the clay from simply moving up (if you only squeeze) or moving out (if you only press down).
Side Pressure (Left Hand, The Guide): Use the palm heel and side of your non-dominant hand at the 7 o'clock position (for right-handers) to push the mass inward toward the center point. Your elbow must be braced (Technique 1).
Top Pressure (Right Hand, The Controller): Use the heel of your dominant hand (or linked thumbs for smaller amounts) to press straight down from the top. This pressure must cover the dead center of the clay to prevent the dreaded "nipple" or a collapsing dome shape.
For Large Amounts: For heavy clay, use a stiff wooden or metal rib on the side in place of your hand for greater mechanical leverage.
IV. The Essential Equipment Factor: Torque and Power
While skill is paramount, centering large masses of clay demands a wheel with sufficient power, often called torque. Torque is the rotational force that prevents the wheel head from slowing down or stalling when you apply strong pressure to the clay.
If you are fighting to center anything over 5 pounds, the issue may not be your skill, but your machine's ability to maintain speed under load. You need a good torquey wheel to successfully apply the pressure required by Techniques 1 and 2.
Relynus understands the power requirements of serious potters. We provide a wide range of pottery wheels designed with robust motors and high centering capacity. Whether you need a student model for small pieces or a powerful machine capable of centering large pots, you can find the perfect fit. Visit our site to find the best powerful wheel in Nepal that matches your ambitions.
Summary:
Ultimately, centering is a dialogue, not a duel. You are not fighting the clay; you are listening to the wobble and responding with a firm, steady, and braced counter-force until the clay respects your alignment.
The Golden Rule: Always ensure the clay is constantly lubricated with water and that you release your hands slowly and deliberately. Quick removal of your hands is a sudden change in pressure that will instantly throw a perfectly centered piece off balance.
🔥 Your Next Step :
Ready to put these techniques into practice with a machine that can handle the load?
Browse Relynus Pottery Wheels Today: Find the perfect wheel with the high-torque capacity you need for your largest creations. https://www.relynus.com/products
Watch Our Advanced Video Tutorial: "Centering 10 Lbs: Leveraging Body Weight for Big Pots" (Link to Video/Lead Magnet)